Third Eye Gypsy(Genea Beads) 2011 by Parigo Studios 2010

Showing posts with label the glass hive. Show all posts

Thursday, June 5, 2014

The M* F*ing Saga Continues

Hello friends!

And so the saga continues.... Since you last stopped in here is what has happened. We finally got downstairs to set up the studio. When we got ready to set up we noticed some black spots on the ceiling. Yep, you guessed it! Mold! Damn it! So we got out some bleach water and sprayed the spots and followed that with 2 layers of Killz. 
Ricky painting the ceiling.

Here was us setting things up.

Here is my horribly stripped oxygen concentrator connection. The shitastical plastic threads were finally stripped. Who in their right mind puts PLASTIC threads on an OXYGEN machine? Someone needs to be brutally maimed. So my darling husband does his best to saw off the bad threads with a STEAK KNIFE of all things(we don't have many tools) to get to the nice textured threads at the top. After sawing, and sawing, and SAWING, and cursing, and SAWING. He finally gets that bottom part cut off. We attach the hose and you can hear the oxygen hissing out of the top at the connection.

Awesome.

Class? Do we know what this means? Oh why yes, this means that the concentrator is CRAP until that part if fixed. :(:(:( So now we need to locate the correct fitting and order a new part. So what does this mean? No mini cc torch set up for me :(:(:(

How do we remedy this problem? Well we take out our OLD torch set up before our upgrade! So out comes the Nortel minor torch and old oxy con. We get them all set up and awesome. Check for leaks, adjust and we are back in business! SWEET!!

BUT.....

I flip on my kiln and the most horrible buzzing noise comes out of it. I quickly switch it off. What could horrific sound be?? Oh it MUST be the kiln relay I have NEVER replaced since buying my kiln in 2008(normally those crap out after 4-5 years). 

Awesome. 

So then what? Well we go upstairs and sit. Panic. Feel like the universe must be telling me I should NEVER make beads again. Gah.. WHY?????? *sigh*

We decide to be proactive. I call up Glasshive(the makers of the most AMAZING kilns ever. No, really!! EVER!!) to find out what the damage is for this new part. Turns out it's only $20 bucks! Awesome, but um.. I am short the $20 at the moment. So what do they do? They SEND IT TO ME AND TELL ME TO PAY LATER. OMG! Um yeah, what I said about best kiln company EVER. Yeah, so if you need to buy a kiln, guess where you should be spending your money ^^ 

In the mean time my friend Brandon calls. I had called him just after calling Glasshive to trouble shoot my problem. He told me that it may be and overloaded circuit. That means that I plugged the kiln into an outlet that is less than 30 amps(the necessary amount to run the kiln). So being the genius I am, I decide to play lets guess the outlet! Awesomely enough NONE of the breakers are labeled in our breaker box. Boo.

So here we go, outlet number 1- BZZZZZZZZZZZZZZZZZZZ. Outlet number 2-BZZZZZZZZZZZ. Now as you are reading this you still don't know just how awful this sound is. Imagine a super buzzy alarm clock x 100. That might give you an idea. Playing guess the outlet is like playing Operation. You remember that game right? The one that buzzes every time you bump the sides as you try to remove the broken body parts from the patient. Yeah, the outlet game is like that. I cringe as I plug in the cord and flip on the switch. Outlet 3, outlet, 4-BZZZZZZZZZZZZZZZZZZZZZZZZ. 

Outlet 5- Bzzzz CLICK. Wha?? NO FUCKIN' WAY! It's WORKING!! SQUEEEEEEEEEEEEEE! 


A fuzzy photo of the magical outlet.

Next I call Glasshive to find out if running the kiln will hurt it worse. Turns out if it's running it will be just fine. I guess generally after the kilns set they can get moisture on the contacts and have the relay go out as well, OR they can turn on, dry up, and start running again! So I did a trial run. I just decided to make spacers incase my kiln decided to continue dying.

Mmmm so pretty! Just like candy!

So for day 2 I decide to get a little more ballsy. I was told that the relay generally dies in the off position. So I figure if it turns on and heats up we are good, right?


There she is. My tiny little hot girl. My very first upgrade from my hot head torch. It was SO nice to make beads even if the torch is so much cooler than my Mini CC. I could MAKE THINGS. Ahhhhh.

Ok so the fan set up is not so awesome, but we will be attaching my vent fan soon so I can go back to having real ventilation! Hooray! Until then we just do it however we can, right? Not that I am telling you that this is a safe way to work. 

There she is still kickin and holding the temp correctly. 

The kiln relay. The magical switch that regulates the kiln temperature. I have yet to install this piece yet, but will as soon as my friend stops by to help. I am not skilled in the art of mechanical devices. I leave that up to the people that are. We don't need ANY more studio drama.

On a side note. Life around me goes on. Mom gifted me with this gorgeous passion flower! I am super excited to see it bloom. She told me it's a red one, but the label says otherwise. I guess I will be surprised when it opens.

Look it already has a bud :D I kinda think it will decide to open when I am out of town this weekend. Drat.

Oh did I tell you I will be going to Red Feather Lakes, Colorado Friday-Monday?  Ricky's dad is flying us in for Ricky's mom's b-day. We can't wait to see them! Not to worry the shops will remain open for your shopping pleasure and purchases made between those dates will ship on the 10th ;)

We also have some exciting business new coming up, but I will save that for another blog post.....

I spent the last few days getting back in the swing of things and waiting for inspiration to strike. My friend Amanda kidnapped me for a hang out day. We saw a sign on the side of the road for 25 cent snow cones! These darling girls made us snow cones and they were quite amazing! What a treat. The world still does have sweet simple pleasures for next to nothing :)

I made this awesomeness from a bunch of organic fruit that we were gifted. Our friends work for a delivery organic place and the fruit was in the bruised bin.I put each fruit in my juicer and poured and froze each layer to get this amazing star pop! Holy crap was it AMAZING!! So delicious! Way better than that crap loaded with sugar and fake dyes. Ick.

Mom sent me home with some of her day lilies. I planted them by the front deck on stairs. They should fill in here nicely :)

I weeded the left side of the house by the garage. That big heap of green inbetween the hostas was all weeds! Rat bastards trying to choke out my plants! *shakes fist*
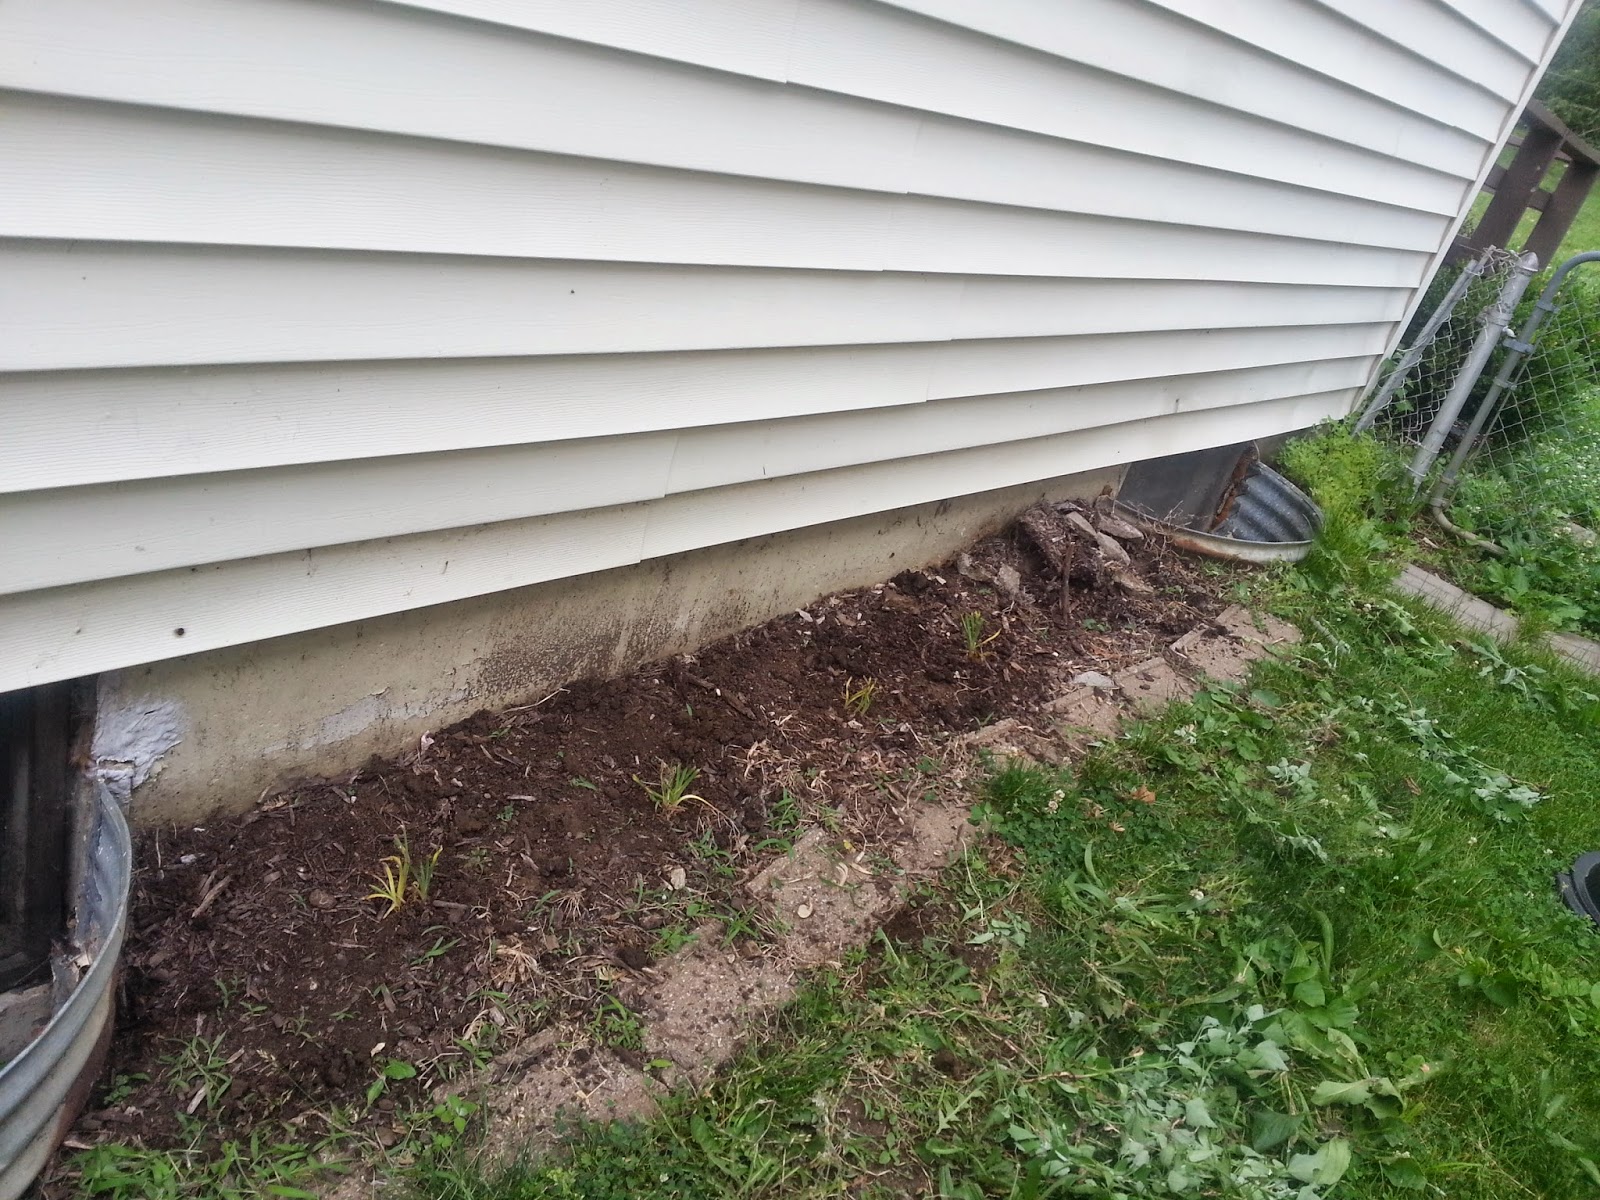
I had a few more lilies so I planted them in this, also weed filled bed on the right side of the house. It doesn't look like much, but they will be so pretty when they grow in.  

Would you believe this?! I even made *RED*beads! You all know how I hate red, right? Why do I hate red? Well I will be a girl about it.. It doesn't match with my red hair. Yep, really. Lol.  I really am smitten by these beads. This red just glows when layered and etched. I even added some stone texture. I will show you what I did with some of these next time.

Until next time... 

Have a great weekend and see you next week!

xo Genea

Sunday, July 14, 2013

Opals Struck in the Clouds- Working Creation is Messy Opal Glasses Tips & Tricks


Hello friends!

I have some new discoveries to share with you. I am always amazed at just how much I learn every time I sit down at the torch. It's also amazing how much things can change from each time I sit down. Things that may have worked from the last session may not work in the next session due to slight changes in your environment. 

So what is today's topic? Creation is Messy opal glasses. You know those amazing translucent watery opals that only Creation is Messy makes. 
Here are some of the glasses about which I am talking. I just LOVE their watery, oceany blue and green opals! 

So how do you work theses amazing glasses? How do you keep them clear or get them to be "cloudy"? 
When working with these glasses you may have had some of these results. In the photo from left to right: CiM Atlantis unstruck, CiM Atlantis struck, and CiM Kryptonite "partially cloudy" (partially struck). So what you may also have noticed is that some colors are more finicky than others. For instance Atlantis, is definitely one of those colors. 

So let's take a look at the rods first. 
Here are two different batches of CiM Atlantis. The rod on the bottom is from an older batch I had and the rod on the top is from a newer batch I have received. As you may notice the top rod is a bit more "cloudy" looking and not as translucent. It looks similar to the Wing Ding pictured above that has been "struck". 

It was brought to my attention by Kathy of CiM that the rods in the entire run of glass from the pot can be different from the rods that are pulled first to the rods that are pulled last. Did you know that there are so many variables in glass that can change the color? Even slight changes in humidity can effect the glasses hue. Crazy huh? It's a wonder anyone can get each batch of glass to turn out the same! 

 If you have ever had the good fortune of hand picking your glass you will notice that when you look in the box of glass you can see a difference in color across the large box. So that being said, when you place an order in which your glass picked for you, you may receive rods that were the first to be pulled or last to be pulled causing a different color or opacity. So when ordering your glass you may want to specifically ask for certain characteristics in your glass. This is just something I have learned from ordering so that is my little tip to pass down to you ;)

In my experience the rods that look the most translucent seem to stay that color. Rods that look slightly more cloudy seem to strike cloudy more easily. 

So the next thing to address is torch working environment and kiln temperature. Below are the "settings" I use in my working environment that have worked for me. 

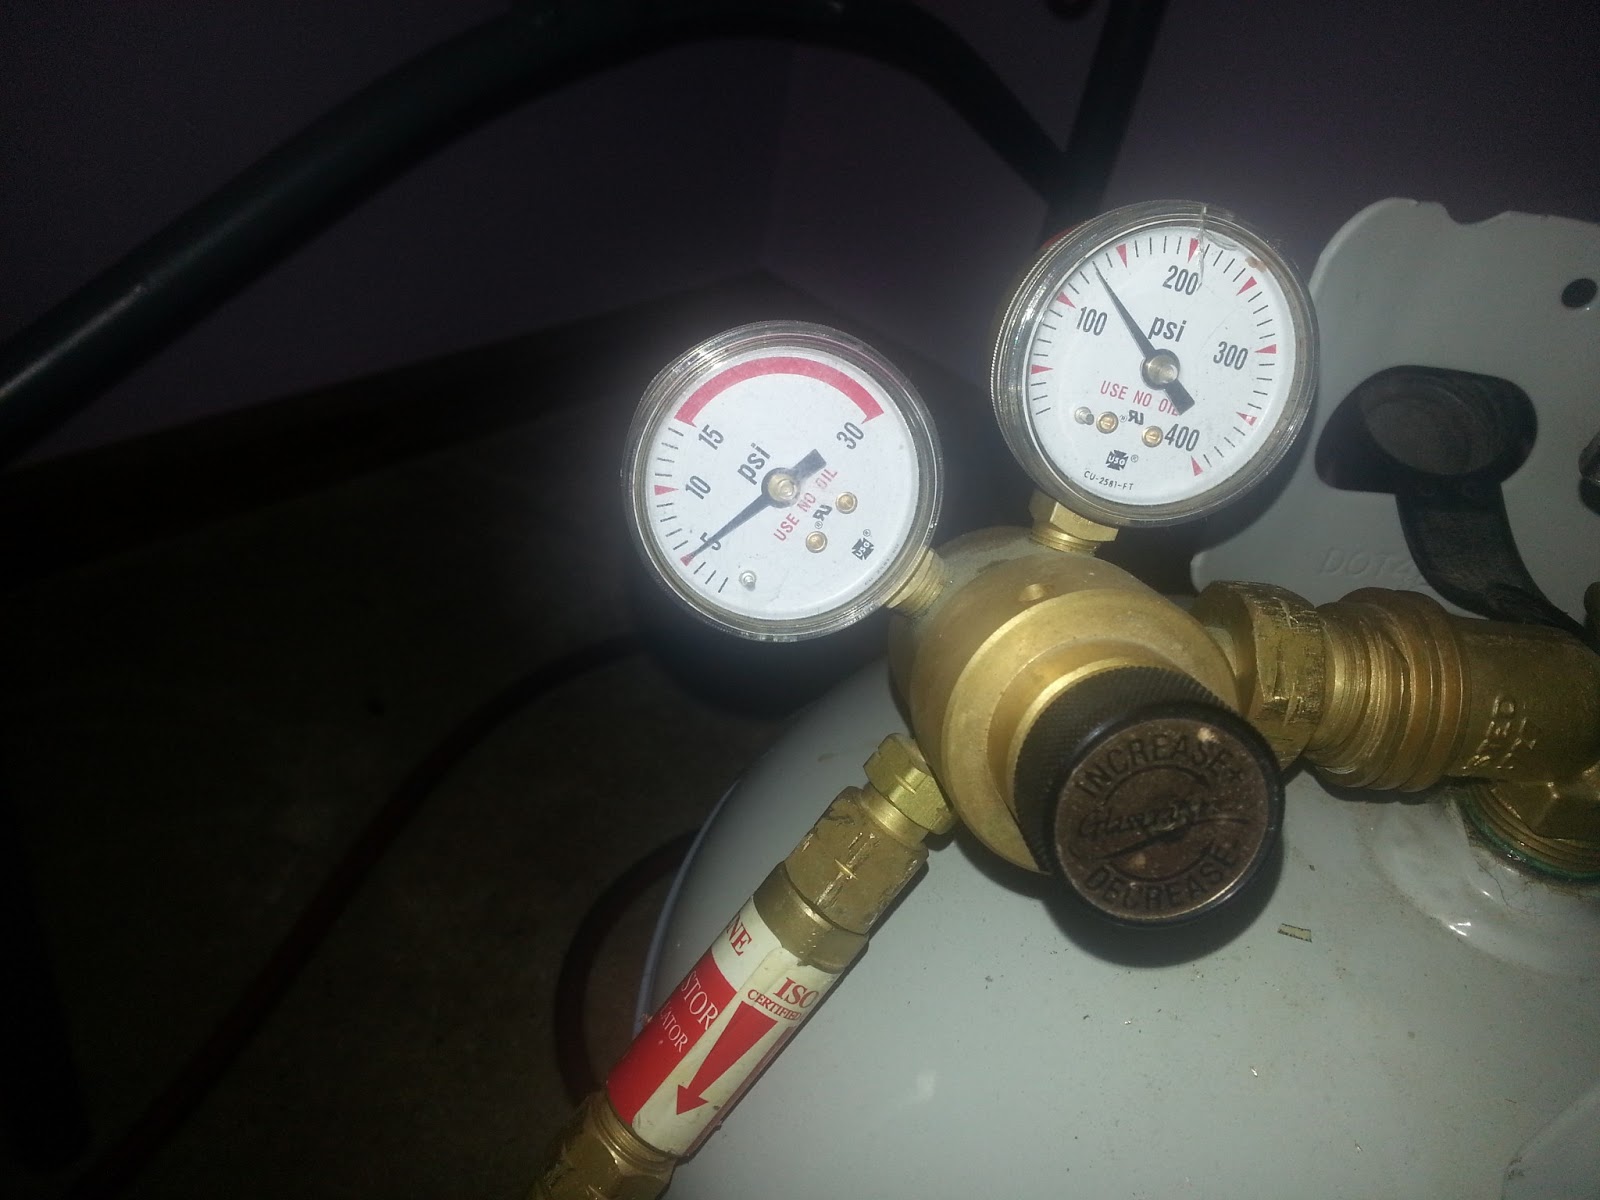
It seems that you want to keep your propane at 5. Higher or lower seem to effect the colors for me.

I also keep my oxygen knob open so that I am at the max amount for my concentrator as well keeping it right at the point of that little arrow.


I work my glass in a slightly oxidizing flame. As you can see it looks narrow like this. 
I work my glass about here in the flame. You want to be slightly above the normal working area for other glasses. You want to try to keep the glass cooler when you work it. 

When working the glass if you give it a lot of direct high heat it will strike cloudy. If you want your glass to stay more opal you want to keep the heat even while working on your bead.  Heating and cooling the glass multiple times will also strike the glass. If you want to shape your glass in a mold or with tools you will want to keep the pressing or shaping to a minimum as well. So for pressing your beads you will want to try to give the bead one good press if possible. 

The other thing I have noticed when working the glass is my kilns temperature. 

I have a kiln from The Glass Hive. My annealing program is set to anneal at 950. 

It seems to me that my kiln is hotter towards the controller box than it is on the far right side. I am not sure if it's supposed to be this way, but this is just my guess. 

Normally I stagger my beads like this having one bead go over the top of my rest and the next bead go under the rest. When making my opal wing dings I noticed that this staggering actually STRUCK my glass from the KILN DOOR OPENING AND CLOSING! The rush of cool air from opening the kiln door along with the hot temps of the inside of the kiln cause the glass to strike and become "cloudy". This is the very same thing that happens in your flame from  heating and cooling the glass!  Ugh! *Derp* I guess that would make sense! So with that in mind the beads really need to be as far inside the kiln as possible so that the temperature around them stays even.

I have also noticed that putting my beads in the kiln on the far right in the inner most part of the kiln keeps them more opaly. So really my "safe zone" for opal glasses is like 3/4 of the way into the kiln and all the way to the right. The closer I get to the middle the more I have had things strike. So the other tip I will do for very finicky colors like Atlantis is to wait to work those colors at the end of my lampworking session. I will put those beads on the far right in the inner most part of the kiln. The idea behind working them last is that they will have less kiln door opening and closing on them than the rest of the beads to avoid striking. I didn't have a photo of the "safe zone", but you can kind of tell where that is based on where your kiln doors close ;) 

So is this a "fail safe" method? Unfortunately, no. Rods also have a role to play in whether you will have opacity problems or not, BUT these little tips may help to yield better results. 

I hope that my findings will help you when working these amazing glasses :)

xo Genea

Friday, August 17, 2012

Marsha Neal Studio- Bead Box Arrived!

Hello friends!

YAY!! My box from Marsha arrived today! :D:D:D I always love receiving bead boxes from my artsy friends!

I was really excited to get a box today with some bad news I got when I sat down to work on some color testing today.
So yeah that little curly q wire back there. Um... it's pretty important. It's the heating element and it crapped out today! Luckily all of your wonderful ladies that are participating in my sale helped me pay for the new $70 part! *whew* So yay for sales and getting my new element ordered. If you are EVER in the market for a glass kiln, I would highly recommend The Glass Hive! They are amazing! I have had my kiln for over 4 years with NO problems until today, and the elements only have a 4 year life anyways, so I would say that's a HIGH QUALITY kiln. Did I mention that they are super nice and helpful as well? So awesome all around!

Ok, now back to the BEADS!

Yay! Here is my box! No peeking! 
Here is what the inside looked like. Don't you just love the pretty tape and tissue?
If I had to guess, I would say Marsha likes purple and pink ;) Isn't this wonderful? I just LOVE opening up packages and having things in pretty boxed with pretty tape and tissue! It's such a gift to open up beads when they are wrapped up like this!
Yes, this is *just* a box, but look at it! Deep down I *am* a girl and I like little and cute things(shhhh don't tell anyone! I have a reputation to uphold!) I am just in love with these little boxes! I need to find out where Marsha got them ;) Moving on...
Oooooohhhhh! Look what was in the purple tissue! Some of Marsha's new disc beads! On the left are the "Garden Succulents" and on the right are the "Rustic Patina's. I just LOVE the rainbowyness and really digging on this rustic stone/matte thing! These are REALLY amazing!
Here is a size photo. Look how BIG these are! Aren't they wonderful! As you may know when buying beads photos don't totally show you just how big or small things are. I mean it's in the descriptions, of course, but it's always exciting to see just how big or small they are in your hands :D


Mmmmm look at the glaze on this one! Isn't it beautiful?! It's SO me!


Mmmmm look at these discs! AWESOME! Just my colors! I LOVE this tanzanite purple too! So pretty!


Look how teeny the "shards" are :D They are so gorgeous too! I love this half dipped look to them. The dark matte clay with the matte glaze! So dreamy! These are the Choclate somethin' somethin' ones, I forget the exact name.

YUM! Limey, greeny, aquay goodness! I just love this 2 tone glaze and these wonderful twist beads in "Bright Green Blue".

OMG it has just been so wonderful to do so many trades with so many talented artists! I am so excited about these beads I want to sit down and start designing something(just as soon as I am done posting my blog ;)

Marsha, thank you so very much for all of these wonderful beads! You just spoiled me with so many beautiful pieces! I just love your wonderful beads and mad glazing skills! 

Thanks for stopping by to check out my loot! 

I hope those of you that are at Bead Fest are having a wonderful time! 

I hope those of you(like me) that aren't are having a good time checking out our other beady friends sales online!

Have a fantastic weekend!

xoxo Genea