Third Eye Gypsy(Genea Beads) 2011 by Parigo Studios 2010

Showing posts with label stone textured. Show all posts

Monday, December 15, 2014

Dings and Things

Hello friends!

Are you frantically scrambling to finish up all of your holiday loose ends? I am happy to say I am just about done with mine ;) I loaded the last of my new beads and jewelry designs into the shops today. Wanna see??

Here are the NEW pretties I added to the shop! The top two pairs of earrings I made for gifts, but the others  on the bottom are in the shop. Do you ever look at your beads and immediately think of people? Well that's how it was when I made my new Dings and created the earrings :) I love it when that happens.

The bottom two designs just kind of came together ;) I used my new "silver snowfall" glass headpins for the "Silver Snowfall Spiral" earrings on the left because I received some GORGEOUS wooly wire that matched them perfectly! The other earrings I created I called "Circus Carousel". The gorgeous verdegris patinated hoops are from Starry Road Studio and the super amazing batiked spikes are from S L Artisan Accents. I had some of this design in my mind for a long while, but mostly the spikes and the hoops together. When I pulled out my beads I found some awesome matching Wing Dings from my "Bright Earth" set! Magic is all I can say!

More dings! Do you remember "Lagoon"? It's been FOREVER since I had that set in my shop! I was really happy to get some more made. I even did some new stone neutrals in the weeny ding size. They are super tiny and super sweet! I just love their small size and texture :D


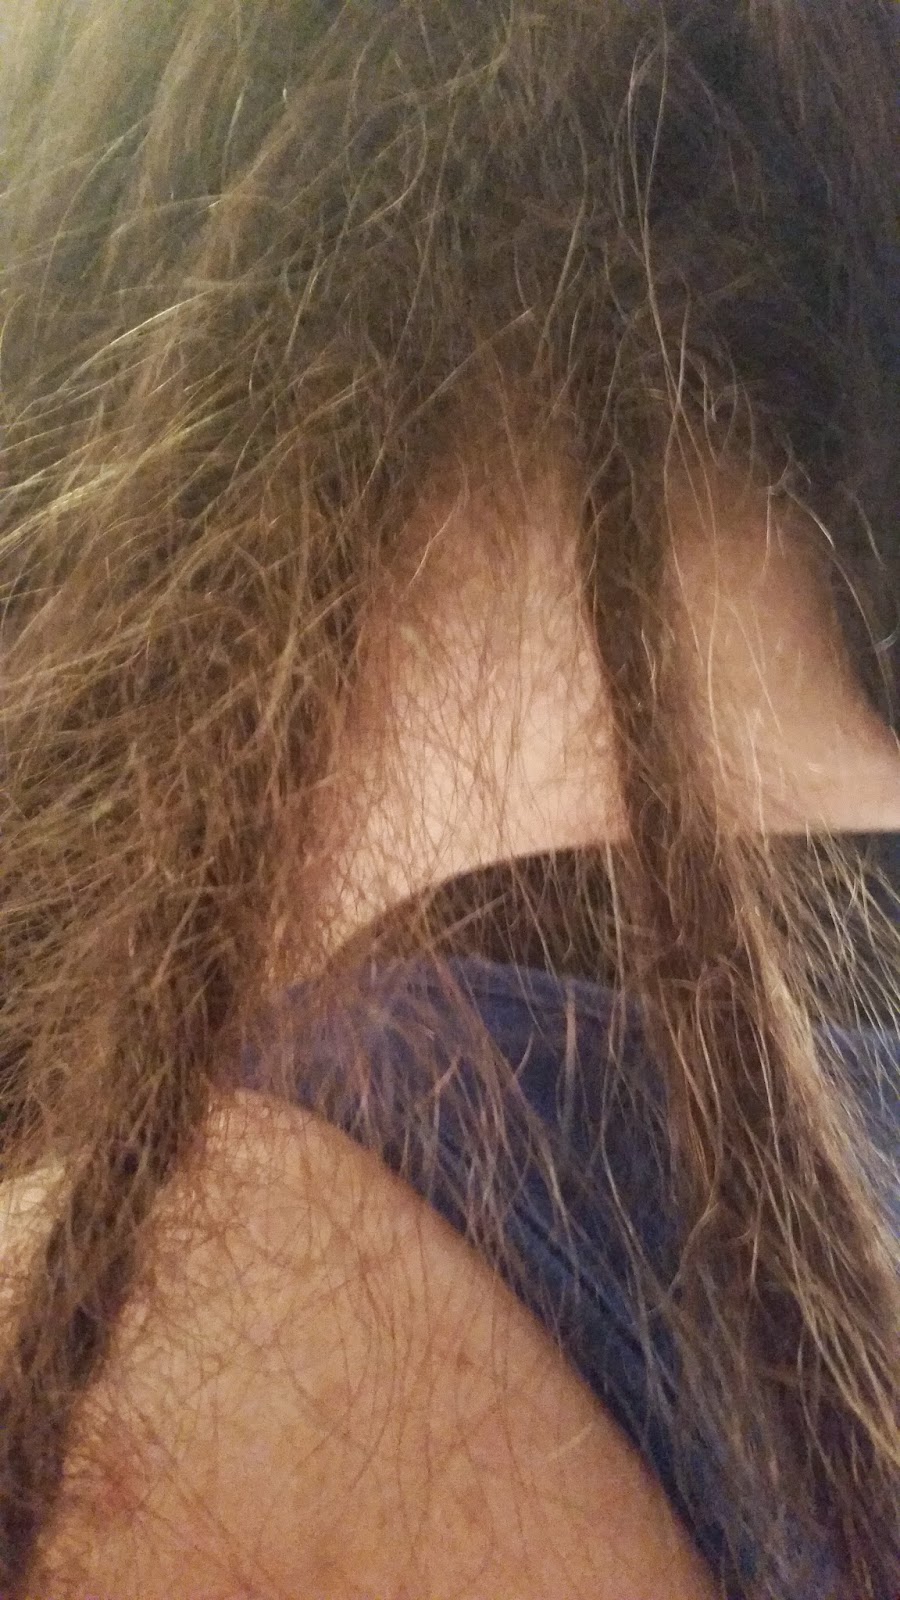
Here we are again back at square one with my dreads. My last set were coming loose and they were so full of wax they weren't dreading. I was sad to have to brush them all out and wash with dawn soap. It was a nightmare to say the least! Luckily my friend Joey that just finished up beauty school was kind enough to section all of my hair for us. It took him 2 HOURS to get all of my hair sectioned into nice even pieces for Ricky to dread. 

Here are the new dreads so far. Wow, they look like a HOT MESS, but they will tame down in a few days. We tried the twist and rip method and the back combing method. NO WAX this time so they will be a fuzzy mess for a bit. It's ok though cause I don't give up easily. All things worth having are worth fighting for. That's my little quote to myself. It's always true ;) 

Well on that note I should go grab some late lunch/early dinner and get to creating some more Christmas gifts!

Wishing you and yours a most magical Holiday Season!

xoxo Genea

Wednesday, October 22, 2014

Workin' my way back to "Normal"


Hello friends! 


I am trying to get back into whatever groove my new "normal" is. I made these beauties this week. I'm still having a little bit of a hard time getting on a normal schedule since everything is so not normal. Luckily awesome beads are still working their way out of my hands :D


Um, HOLY DELICIOUS, huh?! 

Here are some of the beads I made last week. Some of them have already sold, but the pile of beads was pretty ;)

Here are the NEW beads you can find in my Etsy shop.

I made this AMAZING pair of earrings for my friend, Karen Totten of Starry Road Studio. I made them to match her special birthday necklace her husband commissioned me to make for her birthday. Aren't they going to be magical together?!

Are these, SEXY or what?!

She is going to be the envy of all her friends :P 

Things are still all kind of crazy around here as I try to get my schedule back to normal. In baby news, we are still waiting for little miss Ayla to make her appearance. It was an up and down roller coaster for all with the doctors trying to decide what to do as far as delivering her early. I was told she is a nice healthy 7 lbs today and looking awesome! Her induction is scheduled for this Saturday, but I am hoping she comes earlier naturally. I heard induction SUCKS BALLS :( I also hope she makes her appearance before the 24th so she is a Libra instead of a Scorpio >:D There has been a huge fuss over it being "Scorpio Season" and celebrating that little Ayla will be a Scorpio. We shall see... 

Well I best be off! I have some dinner to eat before visiting my little sissy at the hospital.

See you soon! Thanks for stopping in!

xoxo Genea


Tuesday, June 17, 2014

"Shine On" Limited Edition Collaboration Kits by Genea Beads & S L Artisan Accents!

Hello friends! 

Staci and I are excited to be offering our Limited Edition Collaboration "Shine On" necklace kits! We thought it would be fun to do do a collaboration just before Bead Fest Philly in August last year. We chose a pink and purple palette and got to work. I created a glass headpin, Wing Ding and Weeny Ding glass beads. Staci Created her awesome star focals and the fabulous finished design. Our kits have been featured in the current Step-by-Step-Wire Jewelry July 2014 magazine! There are ONLY 8 of these incredible kits available and when they are gone, they are GONE! You can purchase them in Staci's shop here!

Thanks for stopping by!

xo Genea


Thursday, June 5, 2014

The M* F*ing Saga Continues

Hello friends!

And so the saga continues.... Since you last stopped in here is what has happened. We finally got downstairs to set up the studio. When we got ready to set up we noticed some black spots on the ceiling. Yep, you guessed it! Mold! Damn it! So we got out some bleach water and sprayed the spots and followed that with 2 layers of Killz. 
Ricky painting the ceiling.

Here was us setting things up.

Here is my horribly stripped oxygen concentrator connection. The shitastical plastic threads were finally stripped. Who in their right mind puts PLASTIC threads on an OXYGEN machine? Someone needs to be brutally maimed. So my darling husband does his best to saw off the bad threads with a STEAK KNIFE of all things(we don't have many tools) to get to the nice textured threads at the top. After sawing, and sawing, and SAWING, and cursing, and SAWING. He finally gets that bottom part cut off. We attach the hose and you can hear the oxygen hissing out of the top at the connection.

Awesome.

Class? Do we know what this means? Oh why yes, this means that the concentrator is CRAP until that part if fixed. :(:(:( So now we need to locate the correct fitting and order a new part. So what does this mean? No mini cc torch set up for me :(:(:(

How do we remedy this problem? Well we take out our OLD torch set up before our upgrade! So out comes the Nortel minor torch and old oxy con. We get them all set up and awesome. Check for leaks, adjust and we are back in business! SWEET!!

BUT.....

I flip on my kiln and the most horrible buzzing noise comes out of it. I quickly switch it off. What could horrific sound be?? Oh it MUST be the kiln relay I have NEVER replaced since buying my kiln in 2008(normally those crap out after 4-5 years). 

Awesome. 

So then what? Well we go upstairs and sit. Panic. Feel like the universe must be telling me I should NEVER make beads again. Gah.. WHY?????? *sigh*

We decide to be proactive. I call up Glasshive(the makers of the most AMAZING kilns ever. No, really!! EVER!!) to find out what the damage is for this new part. Turns out it's only $20 bucks! Awesome, but um.. I am short the $20 at the moment. So what do they do? They SEND IT TO ME AND TELL ME TO PAY LATER. OMG! Um yeah, what I said about best kiln company EVER. Yeah, so if you need to buy a kiln, guess where you should be spending your money ^^ 

In the mean time my friend Brandon calls. I had called him just after calling Glasshive to trouble shoot my problem. He told me that it may be and overloaded circuit. That means that I plugged the kiln into an outlet that is less than 30 amps(the necessary amount to run the kiln). So being the genius I am, I decide to play lets guess the outlet! Awesomely enough NONE of the breakers are labeled in our breaker box. Boo.

So here we go, outlet number 1- BZZZZZZZZZZZZZZZZZZZ. Outlet number 2-BZZZZZZZZZZZ. Now as you are reading this you still don't know just how awful this sound is. Imagine a super buzzy alarm clock x 100. That might give you an idea. Playing guess the outlet is like playing Operation. You remember that game right? The one that buzzes every time you bump the sides as you try to remove the broken body parts from the patient. Yeah, the outlet game is like that. I cringe as I plug in the cord and flip on the switch. Outlet 3, outlet, 4-BZZZZZZZZZZZZZZZZZZZZZZZZ. 

Outlet 5- Bzzzz CLICK. Wha?? NO FUCKIN' WAY! It's WORKING!! SQUEEEEEEEEEEEEEE! 


A fuzzy photo of the magical outlet.

Next I call Glasshive to find out if running the kiln will hurt it worse. Turns out if it's running it will be just fine. I guess generally after the kilns set they can get moisture on the contacts and have the relay go out as well, OR they can turn on, dry up, and start running again! So I did a trial run. I just decided to make spacers incase my kiln decided to continue dying.

Mmmm so pretty! Just like candy!

So for day 2 I decide to get a little more ballsy. I was told that the relay generally dies in the off position. So I figure if it turns on and heats up we are good, right?


There she is. My tiny little hot girl. My very first upgrade from my hot head torch. It was SO nice to make beads even if the torch is so much cooler than my Mini CC. I could MAKE THINGS. Ahhhhh.

Ok so the fan set up is not so awesome, but we will be attaching my vent fan soon so I can go back to having real ventilation! Hooray! Until then we just do it however we can, right? Not that I am telling you that this is a safe way to work. 

There she is still kickin and holding the temp correctly. 

The kiln relay. The magical switch that regulates the kiln temperature. I have yet to install this piece yet, but will as soon as my friend stops by to help. I am not skilled in the art of mechanical devices. I leave that up to the people that are. We don't need ANY more studio drama.

On a side note. Life around me goes on. Mom gifted me with this gorgeous passion flower! I am super excited to see it bloom. She told me it's a red one, but the label says otherwise. I guess I will be surprised when it opens.

Look it already has a bud :D I kinda think it will decide to open when I am out of town this weekend. Drat.

Oh did I tell you I will be going to Red Feather Lakes, Colorado Friday-Monday?  Ricky's dad is flying us in for Ricky's mom's b-day. We can't wait to see them! Not to worry the shops will remain open for your shopping pleasure and purchases made between those dates will ship on the 10th ;)

We also have some exciting business new coming up, but I will save that for another blog post.....

I spent the last few days getting back in the swing of things and waiting for inspiration to strike. My friend Amanda kidnapped me for a hang out day. We saw a sign on the side of the road for 25 cent snow cones! These darling girls made us snow cones and they were quite amazing! What a treat. The world still does have sweet simple pleasures for next to nothing :)

I made this awesomeness from a bunch of organic fruit that we were gifted. Our friends work for a delivery organic place and the fruit was in the bruised bin.I put each fruit in my juicer and poured and froze each layer to get this amazing star pop! Holy crap was it AMAZING!! So delicious! Way better than that crap loaded with sugar and fake dyes. Ick.

Mom sent me home with some of her day lilies. I planted them by the front deck on stairs. They should fill in here nicely :)

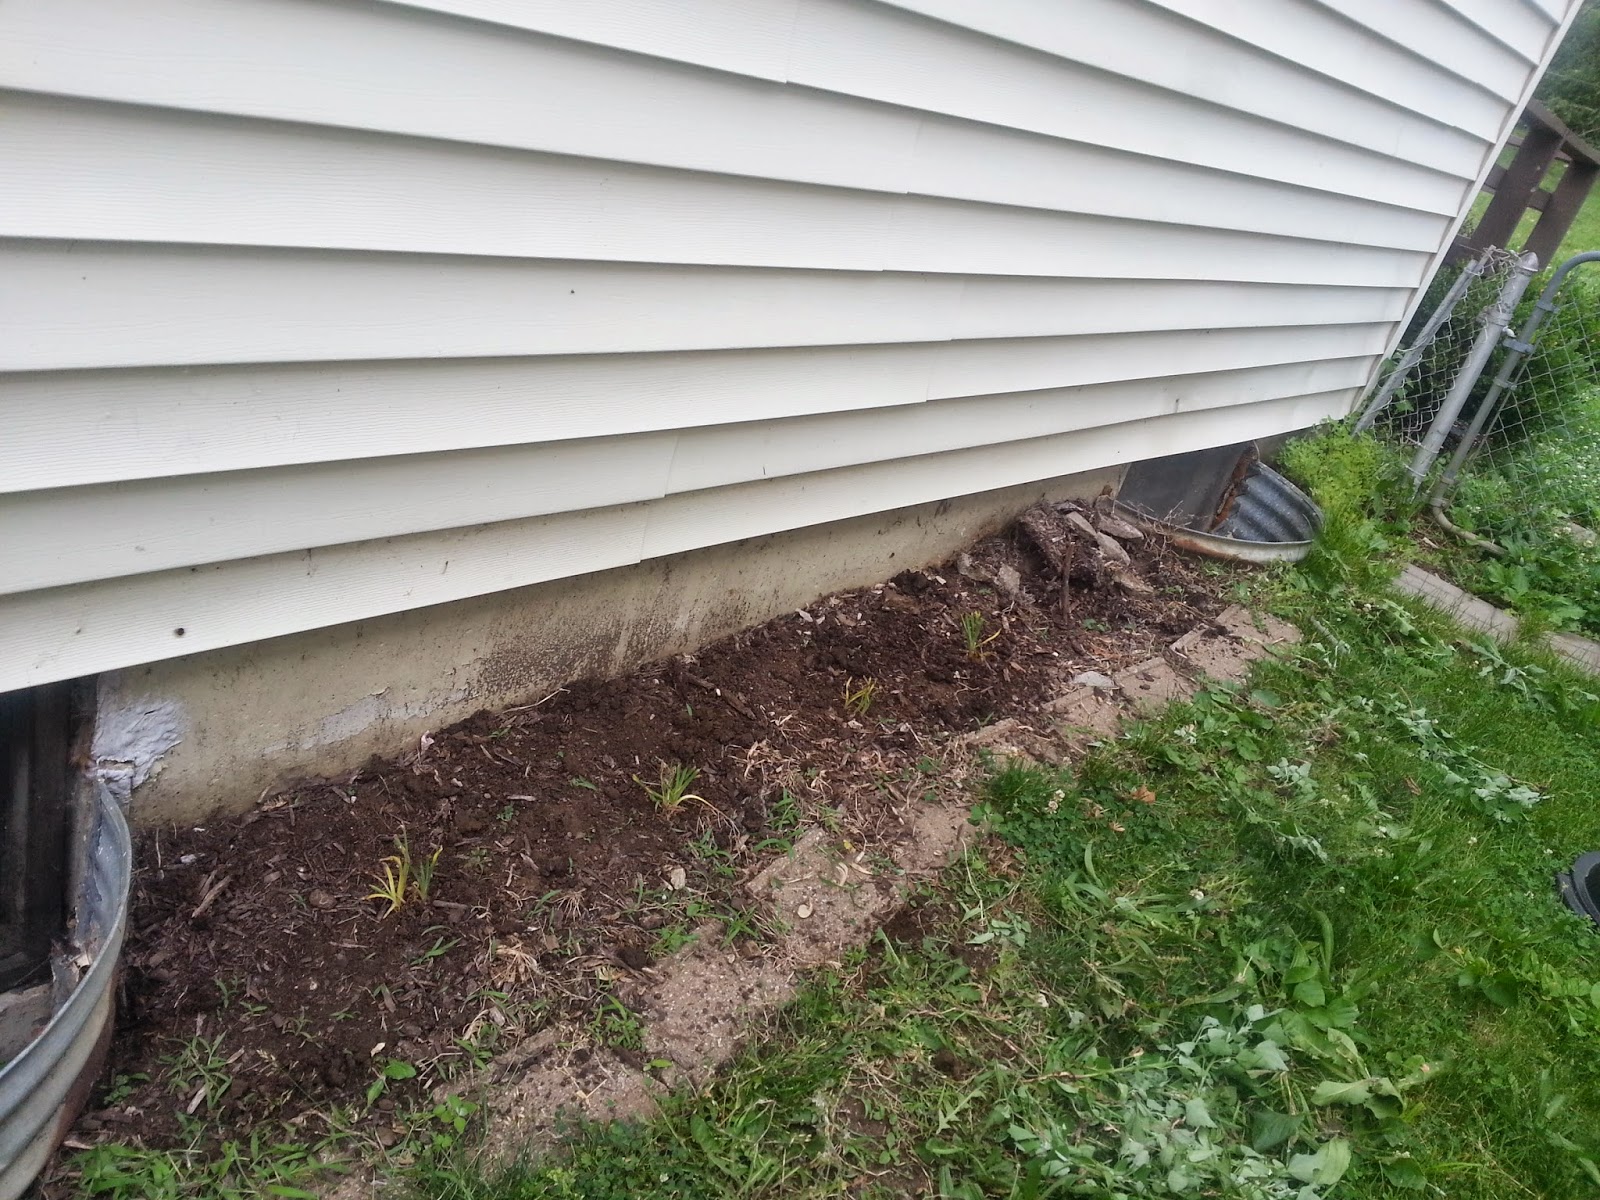
I weeded the left side of the house by the garage. That big heap of green inbetween the hostas was all weeds! Rat bastards trying to choke out my plants! *shakes fist*

I had a few more lilies so I planted them in this, also weed filled bed on the right side of the house. It doesn't look like much, but they will be so pretty when they grow in.  

Would you believe this?! I even made *RED*beads! You all know how I hate red, right? Why do I hate red? Well I will be a girl about it.. It doesn't match with my red hair. Yep, really. Lol.  I really am smitten by these beads. This red just glows when layered and etched. I even added some stone texture. I will show you what I did with some of these next time.

Until next time... 

Have a great weekend and see you next week!

xo Genea

Sunday, March 9, 2014

Gettin' my BEACH on! NEW work in the shop!

Hello friends!

Wow what a MARATHON SHOP UPDATE! I was crankin' out those beads this past week! Some of the awesomeness didn't get snapped up a the preview so the shop was lucky to get a fine selection of new awesome work!
The "Q&D" for those of you that just want a quick peek before heading to the shop.

So I had to list EACH one of these in the shop. Instead of posting each one, you can find them HERE.

Yep, same here. See above ^^

These are SO pretty and they just were not very cooperative to photograph. You can find them here and here.


"Innie" style Sea Urchin clasp on steel. Boy is this metal HARD to shape! Not sure if I will be making more of these for that reason so if you love them, grab them!


Wing Dings "Rainbow Urchin Silver Sand" Um.. yeah, I DID it! Aren't these so incredibly GORGEOUS?!

Wing Dings "Ocean Beach Stone Jewel" O...M.... G... Nice relaxing day at the beach?! I think so!

Beach Stone Droplet "Ocean Jewel"- So I have to tell you about the details cause they are not totally apparent and I want you to appreciate my labor of love on these babies. The top parts including the button are shiny and the bottoms are matte and stone textured. They take forever to clean and protect to give them the matte and shiny look. They are SO worth the effort though, as you can see why!

Now my brain is totally fried. I pulled my back the other day too so I can't take anymore sitting in the chair.

See ya later! I hope you enjoy the new pretties!

xo Genea

Saturday, April 27, 2013

Turned into STONE- Shop update

Hello friends!

I am excited to share my new beads with you! Don't you love it when you really feel like you "nail" a design? I think I have finally gotten there with this technique. It's been a long frustrating process at times, but the more  you work at it, the better you get and the more you learn. It's true. The best advice I can give about lampwork is "Practice, practice, practice". It's so true. I think I learn something new every time I light my torch. 

So there was talk in some of the bead groups I am in about how it seems like no one is blogging as much anymore. The general consensus was that now people were spending more time on Facebook and Pinterest. I must say I am guilty. It is so easy to catch up on chats, photos and new work on Facebook that that is where I spend the bulk of my online time. So with that in mind, this will be a short and sweet blog. 

Here is a full shot of everything that I added to the shop today if this is where you "want to get off the ride" and get onto other things like Facebook and Pinterest ;P But, if you want to hang around you can see the larger individual images of the beads with a link and a little bit of chatter.

So I am SUPER STOKED that I can finally "nail" this stone textured design! As you can see I got some AMAZING shots of the glass as well! Thank God, cause I had just about given up. Can you believe I got these shots as the sun was setting? I don't get too much sun on our balcony during the day, but we get a bit of angled sun by the front door area. That is where I took these photos and quickly, I might add. The sun was dropping behind the roof tops quickly. Ok on to the beads!...


If you remember awhile back this is the bead I used for my friend, Kathy's necklace :)
I was kind of keeping it a secret for now, BUT.. I just shot the tutorial for this necklace! I still need to edit the photos and write up the instructions, but this is something you will see in the shop hopefully soon :D


Wing Dings- Beach Stone- "Pale Aqua"- These are already SOLD OUT! I guess these were everyone favorites ;) Don't worry... I will make more ;) 


Thanks for stopping by to see my latest creations!

Have a wonderful weekend!

xo Genea