Third Eye Gypsy(Genea Beads) 2011 by Parigo Studios 2010

Showing posts with label bead fest philly 2013. Show all posts

Friday, September 6, 2013

Bead Fest Bead Swap- Bead Fest Blog Part 2

Hello friends!

So my second Bead Fest blog is about the amazing Bead Swap put on by our very own, Diana P(like I am going to attempt to spell her last name from memory! ;P).
Here is a photo of Diana calling off winners for the extra giveaways!

Some of our ladies that attended the swap. 

We all received these very special buttons for our swap. ONLY members that were swapping received them ;) You wouldn't believe how many ladies wanted our buttons!


I was lucky enough to get Mary Welsh Hubbard of White Clover Kiln for my partner(SCORE!).
What a great action shot of our box exchanging by Linda Landig :)

Look how darling she is! I clicked this pic so I had a photo of her opening her goodies from me :)

I wanted to do something really special for Mary so I came up with this amazing idea to do "A Tour of Genea Beads". I decided to gift Mary with some of my most favorite and popular beads in my body of work. 
Here is her introduction card for her gift.

I then created a card for each bead with it's title and a little story about how the bead  came to be. These cards were then put into pretty crystal clear cello self stick bags.
Each bag was then filled with it's matching "bead"(clasp, headpin, etc). Don't they look so pretty?!

Next I wrapped each bead and marked them with a number. They were to be opened in the order of which they were created(this is part of that "tour" part). 
Here is a close-up of the "finale" package. 

Next I needed a perfect package for all of the pieces. The one thing that was challenging to fit was the headpins. 
I went to Target to look for some pretty packaging and came across this wonderful little plastic pencil box! Ricky brought this style box to my attention. We only found a crazy 80's style in zig zags to start, but upon digging in the demolished back to school section managed to find this awesome hot pink one!

The box was PERFECT! When you undo the snap you could slide out the interior to expose the contents.
I loaded up the box carefully inserting each tiny package inside and stacking the first numbers on top.

The finished box looked like this when Mary opened it. Inside was her  "welcome and instruction card" and a pretty business card with my popular Bright Earth Bubble Button Wing Dings on it. 

Here were some of the beads and findings she received. From left to right: Ocean Urchin Egg, Wing Ding, Weeny Ding, Rainbow spiral s-clasp,  Lime Stone textured glass headpin, Starfish headpin,  Midnight Jewel headpin, and Spiral Beach Stone Coins(not pictured). 

Here are the gorgeous beads I received from Mary!

In the center you can see what Mary calls "Hubbard Green". A super BRIGHT limey color with turquoise! Yum! The paper rolled beads were created by her youngest daughter. She paints paper, cuts the paper and rolls them up into these fanciful little beads :)

I hope you enjoyed a look into our bead swap! What great fun!

See you soon for Bead Fest part 3!

xo Genea

Sunday, August 11, 2013

Bead Fest Philly Booth- Part 3- complete!

Hello friends!

Wow what an exciting ride it's been. It has been so amazing watching my booth transform! I seriously have a million things I could write to you about! 

So I will start out with the glass headpin display. Displaying loose headpins was easy. Sweet little bud vases from Walmart worked out great, but what about the pairs? When they are in the shop they are bagged up like this. The shiny bags make everything look nice, but when you are looking at a table you lose the detail :( 

BUT... my dear sweet friend, Marsha Minutella had the perfect solution for me! Itty Bitty rubber o's! Look how sweet and tiny! The 3mm rubber o's from My ELEMENTS work perfectly to hold 2 (even 3) glass headpins together, AND I have even put 2 on the pairs so that you have 2 sweet little rubber o's to use in your designing(thanks for the tip Marsha!).

Just look at how much better these look displayed! You can see the texture in the stone headpins and everything! Yay!

I decided on using Kraft colored price tags with this amazing "Bohemian Typewriter" font. I LOVE how the look! Here you can see them in action! 
Look how clear the font is on this large sign as well! Love it! Nice and easy to read.
Here is the "Bright Earth" tray of beads. They are even more saturated than they appear in the photo. Aren't they soooo pretty all in their home together?!

I also came up with a GREAT IDEA! So say you don't get to go to Bead Fest with your friends. Well you know all of your "True" friends couldn't leave the bead show without picking you up something, right? (hint hint to all of you out there going to the show while your poor friends sit at home ;P) So I thought how fun would it be to put a wonderful bead in with a super pretty mini card for a "Bead Souvenir"! You could pick up your dear friends a special beady gift of awesome on your travels! Sure is better than that hokey shit you find in the airports! :D
Some things just need a teeny display. Well my spiral s-clasps were no exception. My teeny ramekin was still too big believe it or not! I went on the hunt for a sushi dip container, but they didn't have them at the World Market by my apartment. I did, however, find these super sweet and teeny little squarish bowls!
OMG look how cute! I had a TON of wine corks lying around from these ultra awesome succulent plant holders I made for Christmas gifts.
Since "Necessity is the mother of invention," I used the rest of these wonderful little corks to create my tag holders. I am so pleased with my sweet little handmade elements for my display! 
Next I saw these INCREDIBLE wooden patinated looking boxes that my friend, Barbara Bechtel made for her booth. *swoon* I LOVE verdigris patina! I asked Barbara if I could borrow her boxes for the show. Since she was traveling over the summer she only had one on hand, but she very generously offered to tell me how she made the boxes. 

Ricky and our friend Brandon assembled the boxes while I did the painting.

Here was the first layer. They started out really blue so I was a little worried we weren't going to get the right green.

Second layer. This one was sooo pretty! lots of nice streaks of color. 

Third layer. I was a little scared that I over did the metallic. By this time it was midnight and I was working in a dark garage. 

Here is a photo of the box in the sun. It sure is GA-REEEEEEEEEEEN in the sunlight! I still wasn't totally sure about the box. I really love the free spiritedness of Barbara's boxes. You can tell mine or "more stressed" out and "tight". Everyone else seemed to like them and I was worried about over working them so I stopped here. 

Here are the boxes with my display. They are nice and green and have a good contrast from the more aqua table covering.

It looks so pretty with the sea themed beads displayed on top! 

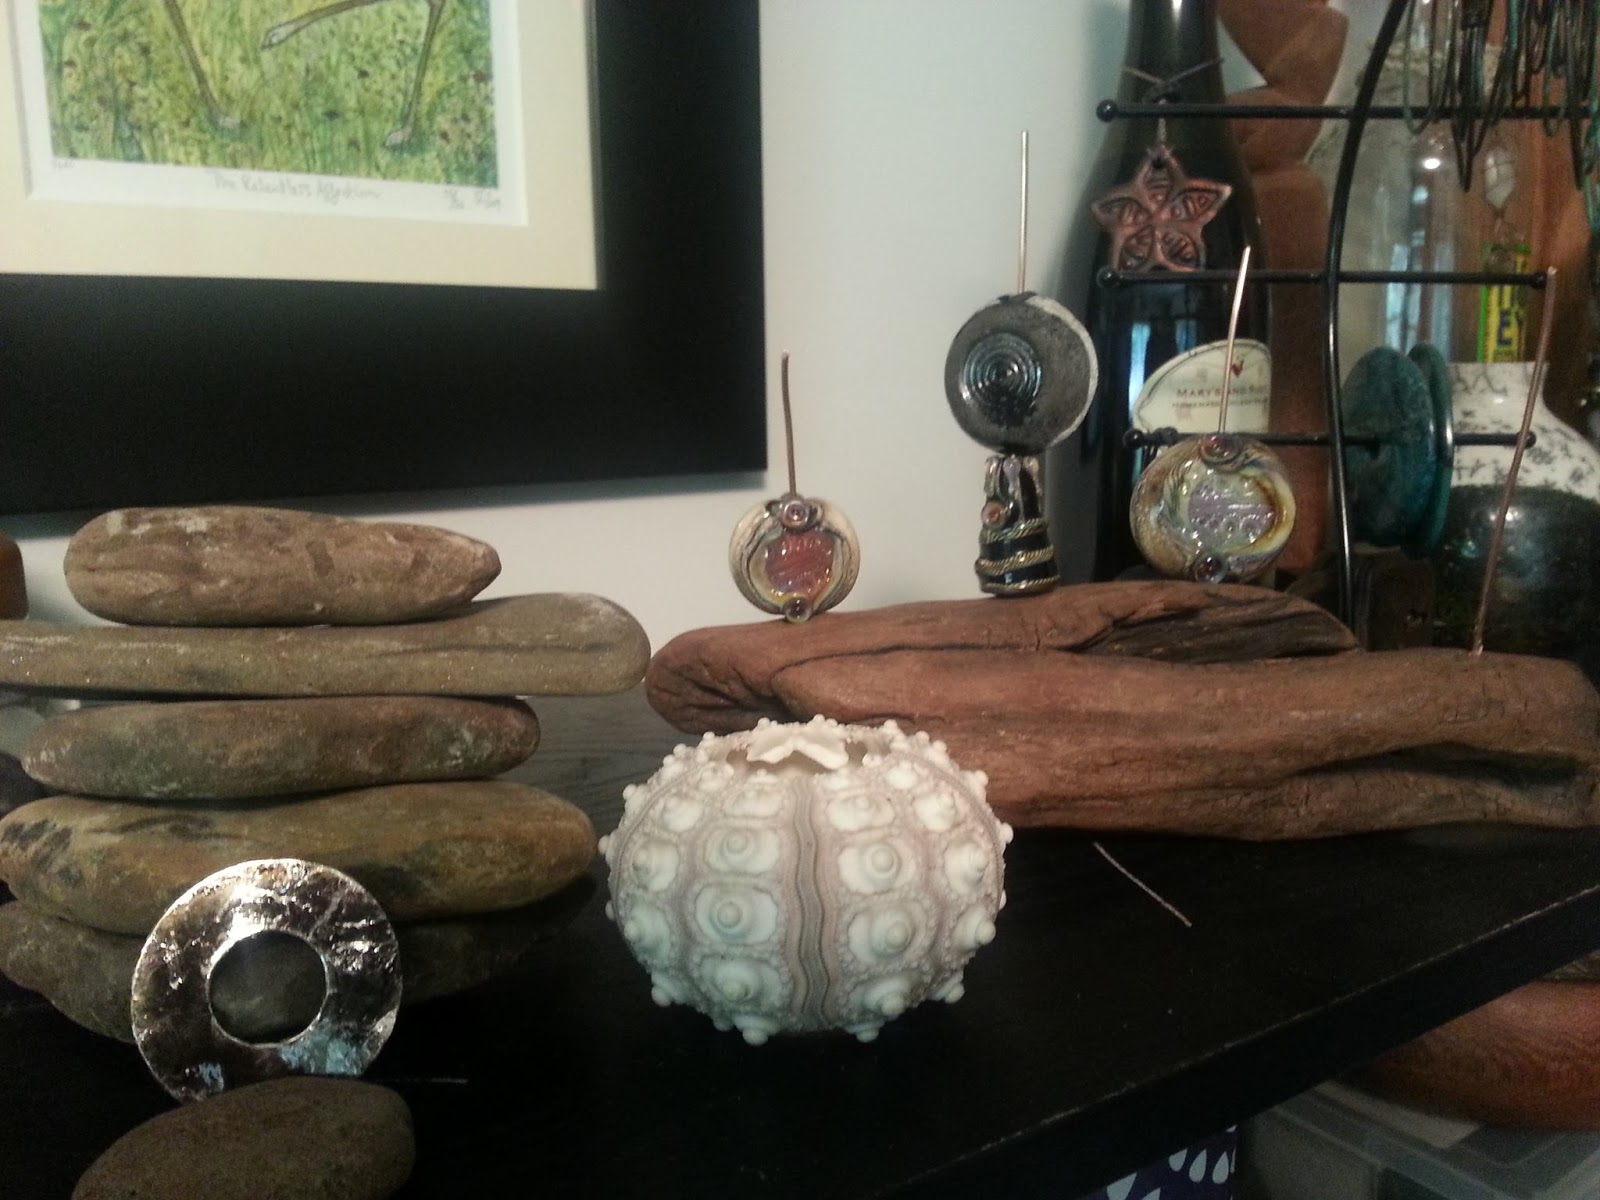
Only a few finishing touches that will take place at the show. Staci was such a sweetheart and created these GORGEOUS drift wood bead displays for me as my "First Bead Show" gift :D So I will be working these beauties into my table set up framing a few trays in the center of my display :D


Thanks so much for stopping in to enjoy the process of my booth set up with me :)

Have  a great upcoming week!

xo Genea

Thursday, August 1, 2013

Bead Fest Philly August 2013- Continuing Show Prep

Hello friends!

Wow is it getting INTENSE! Bead Fest Philly August 2013 is RIGHT around the corner! I have been busily working behind the scenes getting ready. You can see my first post about show prep at the Love My Art Jewelry blog here. So much has come together since that post. I have been steadily receiving orders for displays, Staci and my collab magazine in Belle Armoire arrived, my banner, and business cards arrived, and I have a small box of glass on the way! 

So before I spiral off on a tangent here is a coupon for $5 entry to Bead Fest! Just print this off and bring it to the show to receive your discount! Please feel free to share with friends! 

I started this little Pinterest board to show some Sneak Peeks of some beads some of my friends and I will be bringing to Bead Fest. Some are beads that have not been sold before and will debut at the show!  I need to add some more things to the board, but you can be sure to see a wonderful selection of my body of work from the last year as well!

So now is the fun part where you get to see what I have been up to in photos and who doesn't like photos?! :D

What is making beads without some burns?! Ouch! 

I caught the glass in between my fingers before dropping it on the floor! 

Bright Earth "Weeny Dings"! 

Some "Ocean Urchin Serpent Eggs" and "Ocean Serpent Eggs"! Aren't they AMAZING XL size?!

At first I wasn't sure about these black necks. I had originally wanted to do all Linen cause I wanted to have that "recycled" look to them, but the black necks really make the beads *POP*.

My little earring hangers. Ricky helped me order. We thought we were only getting 5 and they came two in a bag! Awesome cause I LOVE to make earrings! He he.

After looking over my table of beads I thought, "OMG I need to make more of THOSE!" So here they are!

I was bummed to not find kraft paper bags, so I had to settle for the white bags. They are kinda crappy quality, but they work. I thought maybe I could get away with just stamping them in a solid color, but they are way more dynamic multi-colored. *sigh* 
I loaded up my counter top with them. In this photo there are 56 bags strewn across the counter! I must have stamped almost 250 bags!
Each bag was then loaded with my new simpler style business card. Sorry for the dark cell photos. 

Here is a look at my table display. It was more laid out to see how things looked on the different color tray backings and to see what beads I needed to make versus actually doing the display. I still need to make my wooden boxes for height.

Who knew?! The black looks AMAZING on the linen. I also put the store textured beads on the linen as well. I really want you to be able to see the texture well.

The bright beads looked good on the light bamboo mat. I also made a little sign. I heard awhile back that having eyes watching you made you less likely to steal. How about the "Wisdom Eyes of Buddha" watching you with  a friendly little reminder?! :P

The ivory urchins look really amazing on the black!

Doesn't this "Ocean Serpent Egg" look awesome on the chocolate brown bamboo mat?! Oh and I was trying out the idea of doing smaller GB tags in the future. I sure can't go back now and re-tag everything... or well... NO, NO.. they will have to be just fine. Lol.


Oh and you know I had to make some smaller "Seahorse Hearts" and a HUGE "Seahorse Lentil"! So amazing! 

Did you see my BANNER?! YAY!!! I am so happy with it! Looks like I got the 6ft one instead! Lol. 

Well that about does the post for today! I am so looking forward to seeing and meeting you all at Bead Fest!
xo Genea